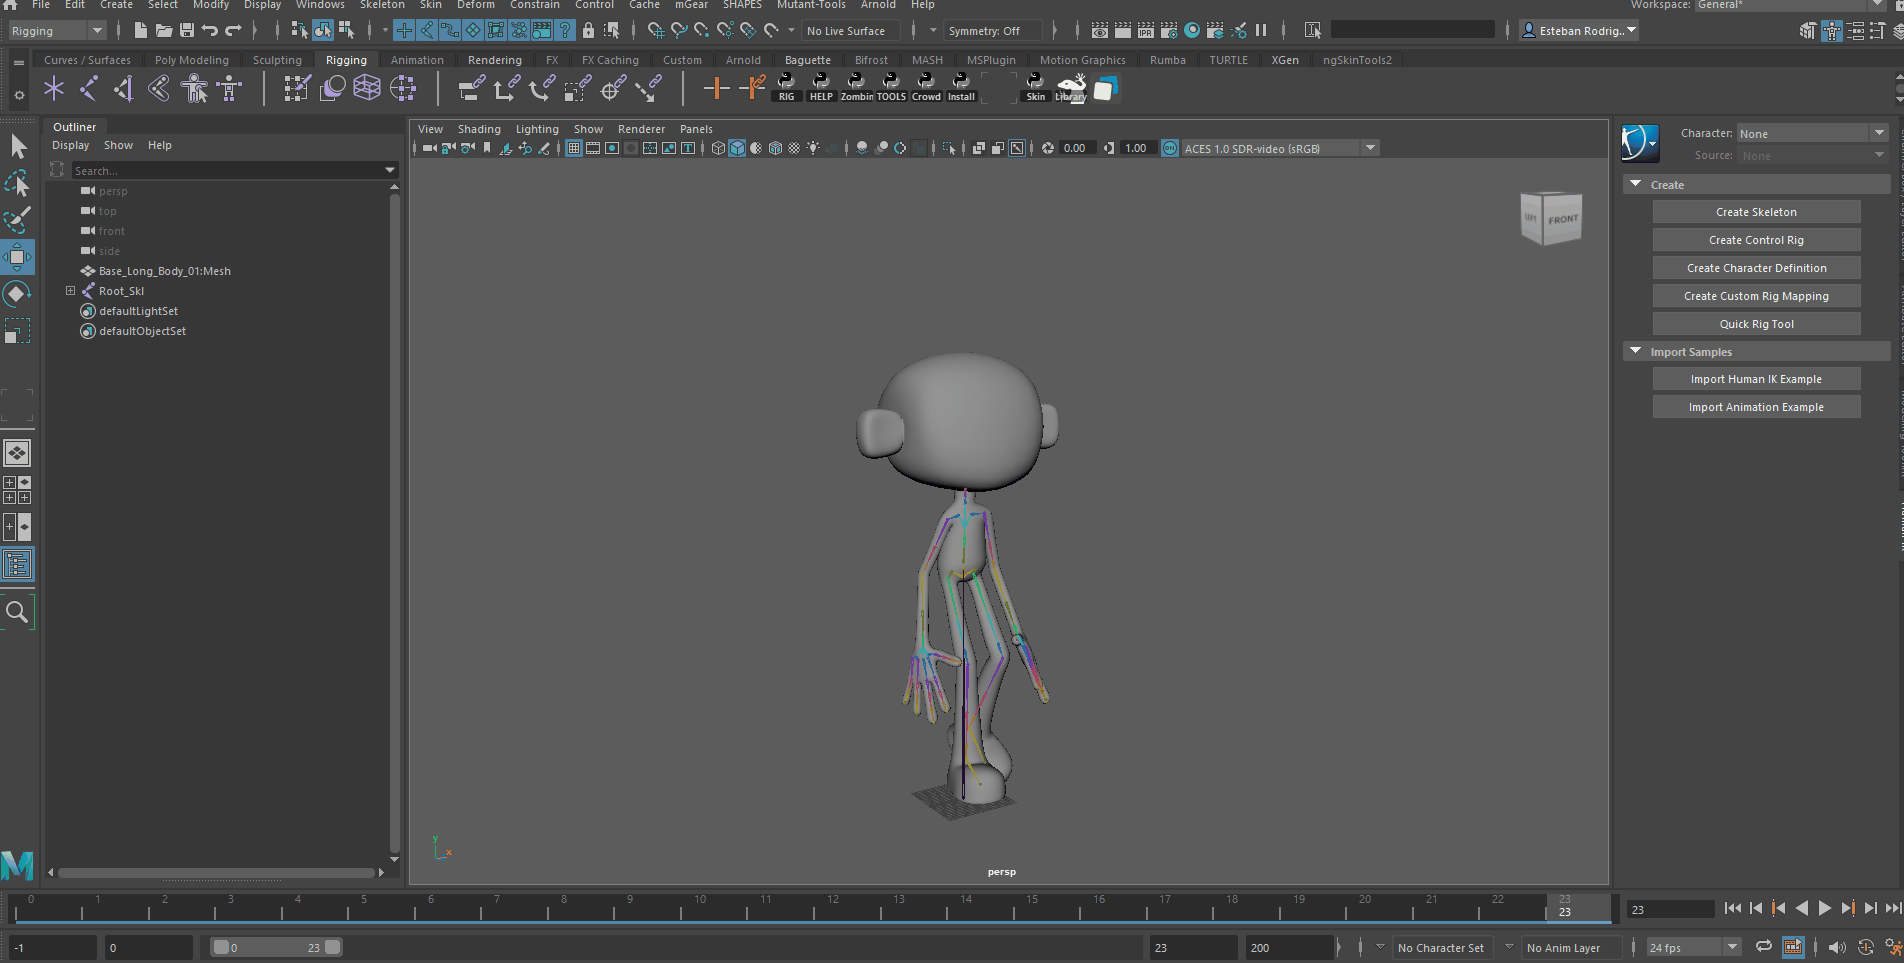
We are going to be rigging with Mutant Tools since I developed it and know how easy it is but is the same basics to do it either manually or with other software.
All the mocap, in this case, will be downloaded from Mixamo, as I understand the license is that we can use this mocap data when applied and modified for commercial projects, we can’t redistribute raw material… If this is not true please let me know and if you are a lawyer from Adobe: It was an accident, sorry, don’t sue me!
Table of Contents
Game Ready Rigging
Model
I found this model online with a CC License so let’s use it! It’s a blend file but just download the software and export it as a .obj to use inside Maya. I know Blender is free, yada yada yada… Maya is just easier for me. Thanks….
“Long Body Cartoon Base” (https://skfb.ly/o6XsS) by IgorSan is licensed under Creative Commons Attribution (http://creativecommons.org/licenses/by/4.0/).
If you want to learn how to rig using Mutant Tools is pretty simple but for this tutorial, I’ll just show all the processes in a rig since is not the main idea of the tutorial. For a tutorial please visit: MutantTools
Skin
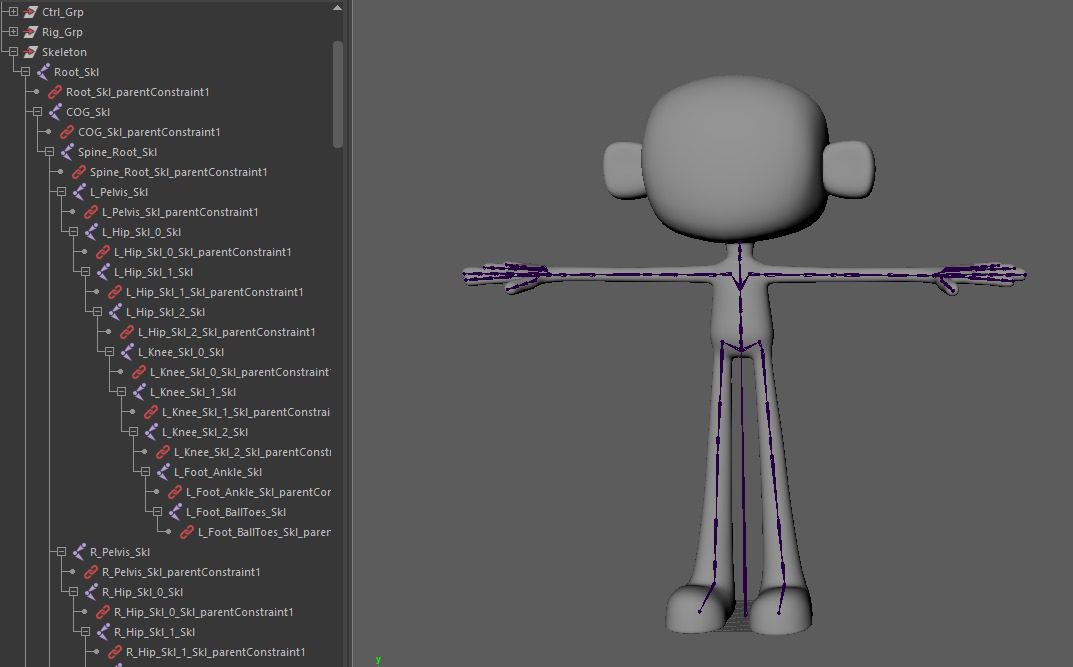
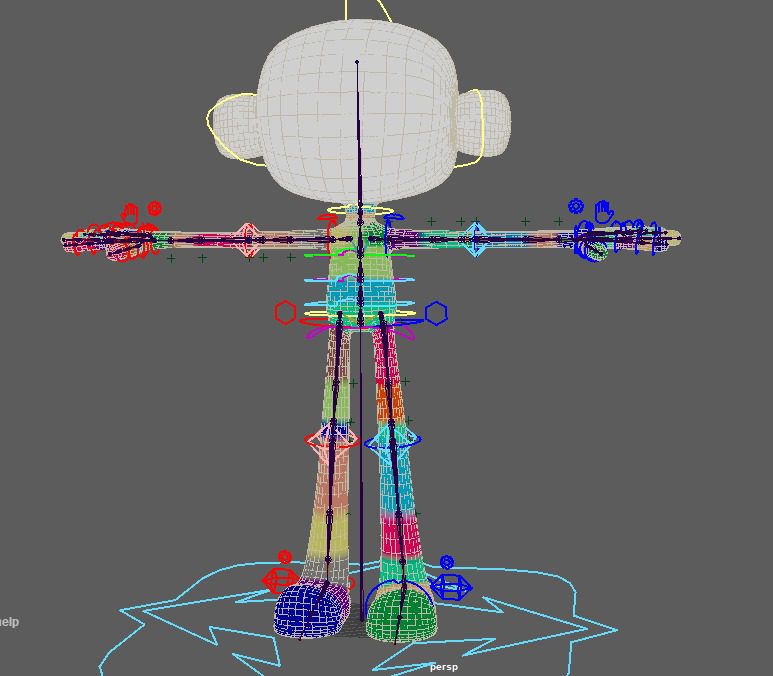
On the skinning part what we need to focus is in having only one chain to make it game ready, if you use the Mutant Game preset you will be using the *_Skl hierarchy joints instead of the ones in the bind grp.
Just remember to check the maximum influence allowed on the engine of your choose.
Skinning Tips
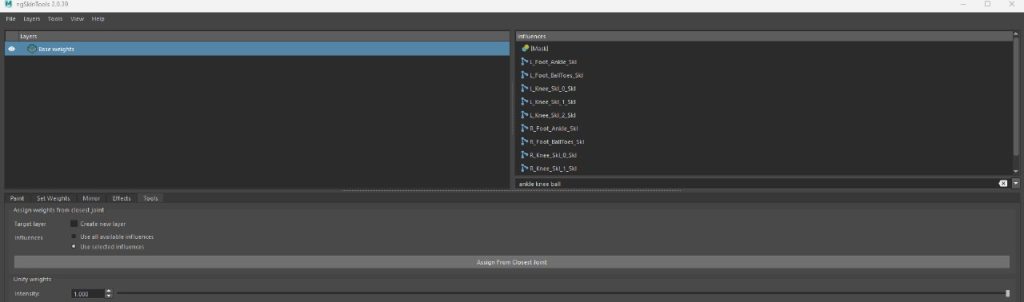
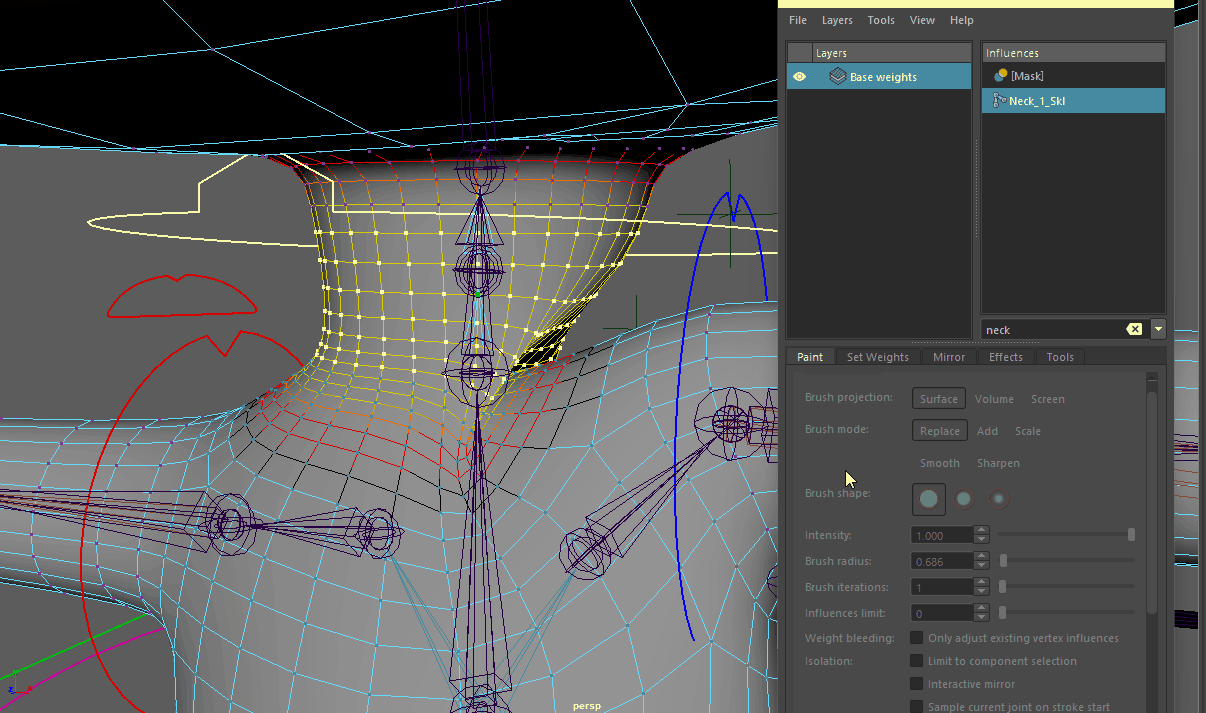
Use Ng Skin Tools and start by clicking the assign from the closest joint. The idea is to paint hard first, then layer and smooth.
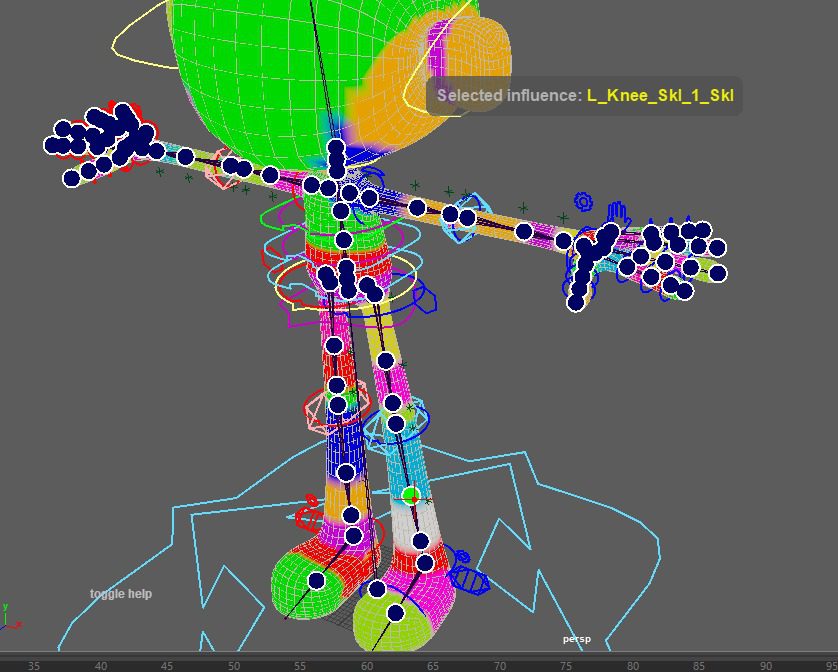
Press S with the Ng UI open and move the mouse over the desire influence to paint, this allows us to be able to paint the next joint without the need to select it on the main window. #SaveTime
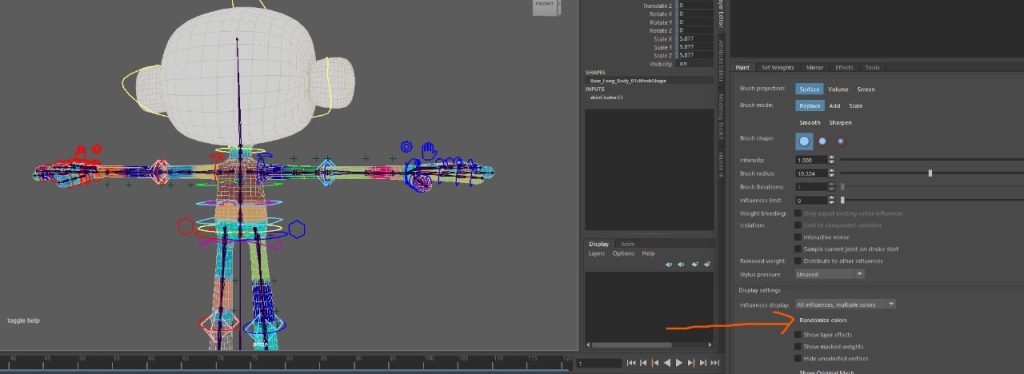
Use randomized colors when painting near colors like yellow of light ones. is just easier to use the more contrast ones.
When this kind of crashing happens the easy solution is to go and select the vertex with soft selection and add 0.1 to the desired joint until the volume is restored and then, just again with soft selection, smooth a bit and it’s going to look way better super fast!
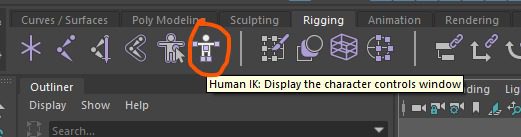
Human IK - Custom Mocap Setup
Requirements:
Perfect T Pose, A Pose is not allowed and if your character is in an A pose just create a group above FK SHoulder controllers and rotate it to be a T pose.
FK Mode in Arms and legs. The mocap reads rotations and the Ik is mostly translations.
Space switches in Arms, Legs, and Head in world rotation make it sometimes easy but not required. (This is Mutant Default so if you build don’t worry about it)
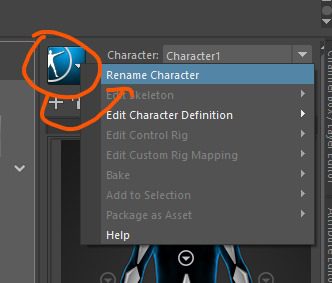
Rename the character
ALWAYS! RENAME! YOUR! STUFF!
In this case, I’m going to have 2 definitions so we will need the Mutant and the Mixamo one to be able to differentiate them.
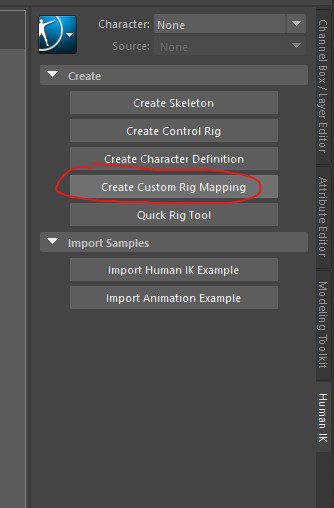
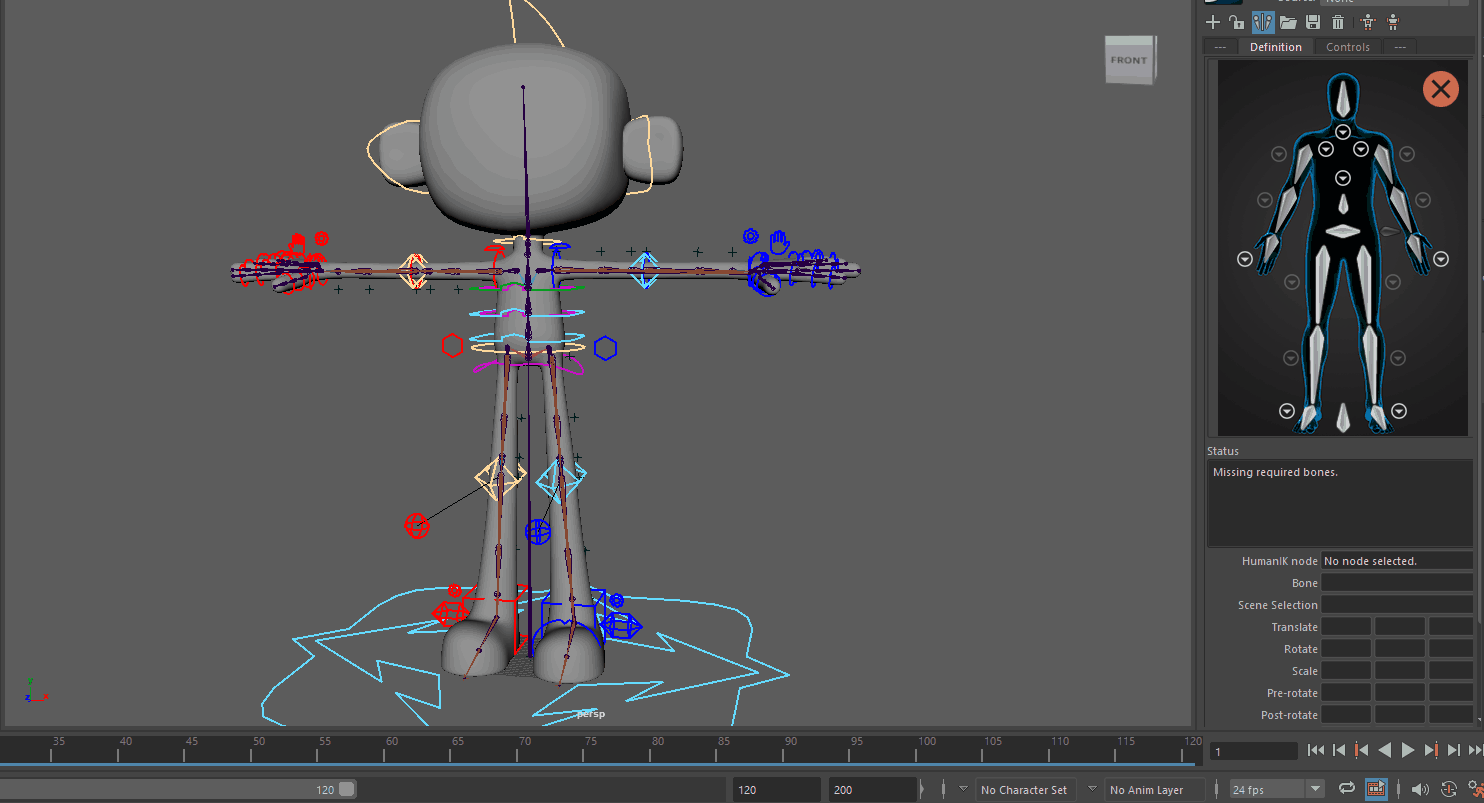
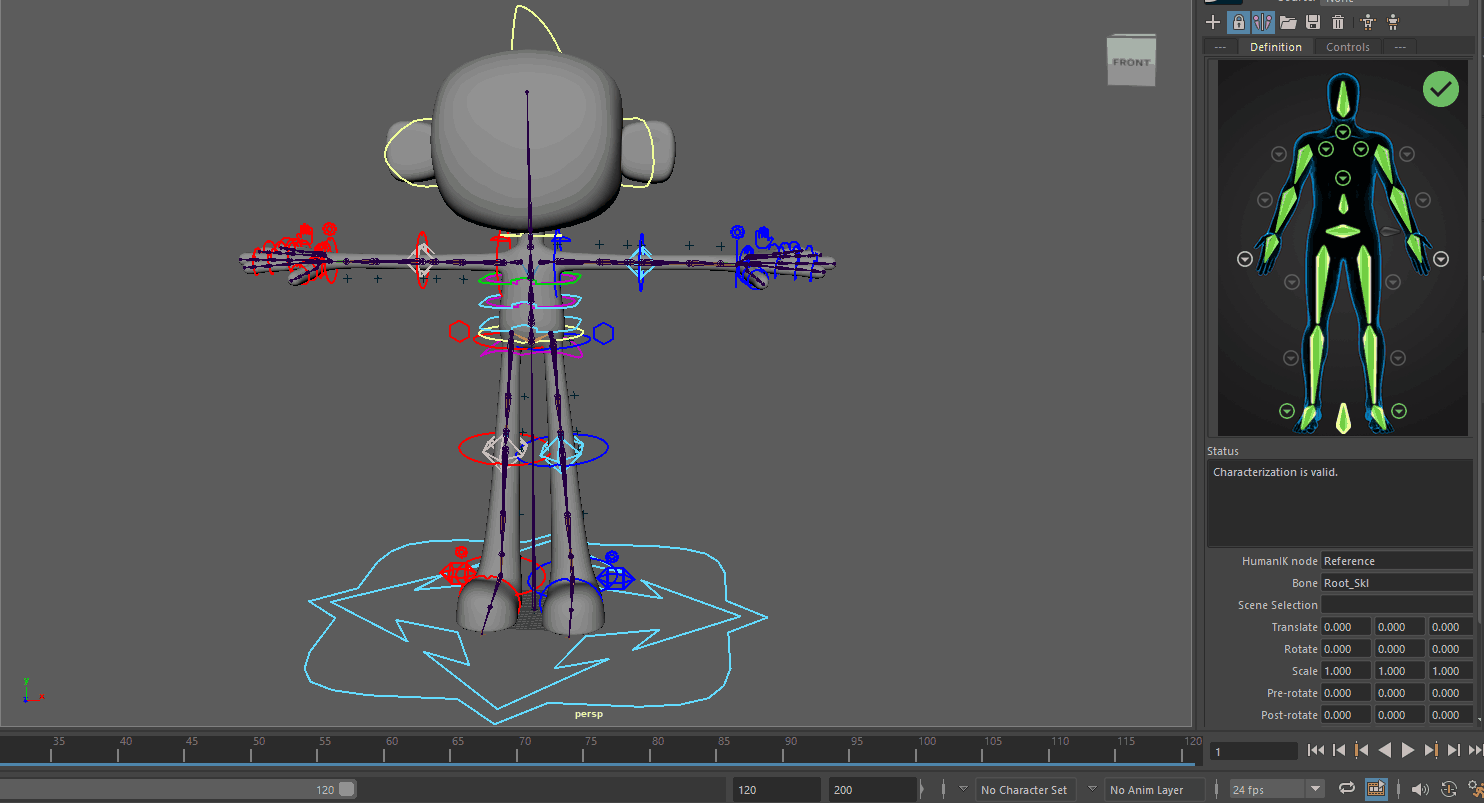
Create Custom Rig Definition
This is pretty simple, just use the *_Skl Joints and go one by one assigning them in the UI, it right-clicks and left-clicks sometimes so just get to use it and notice that some joints are hidden in menus.
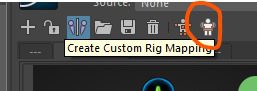
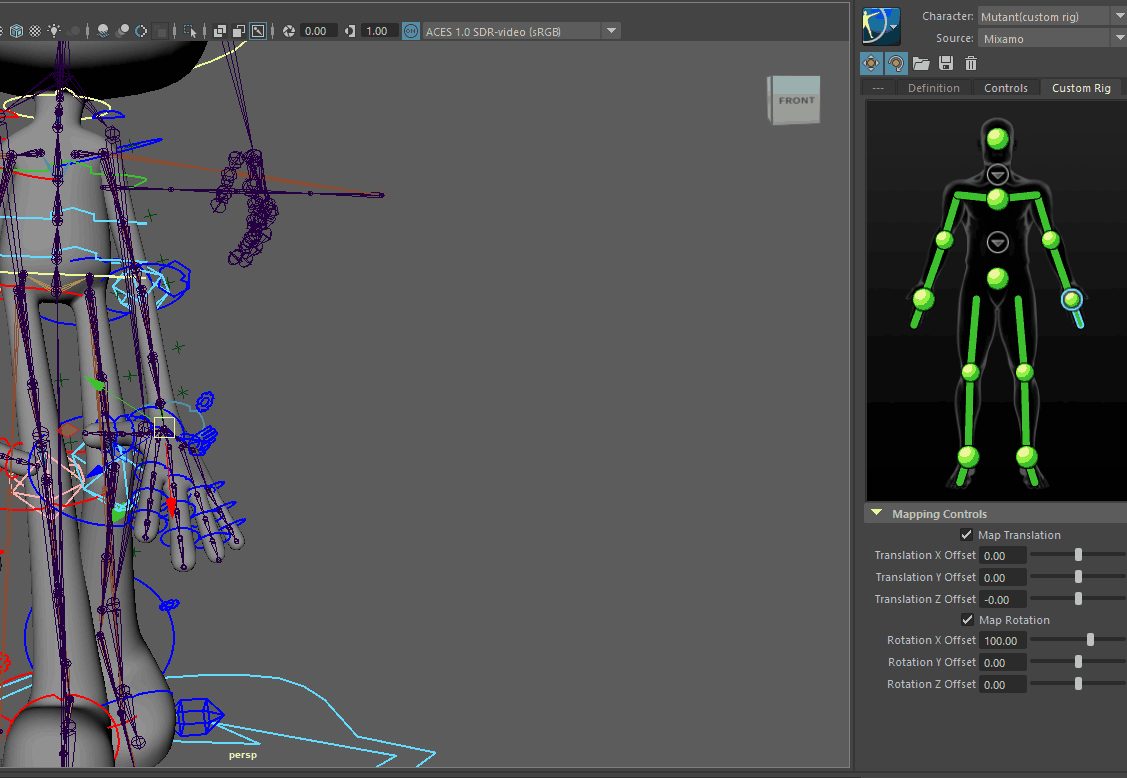
Create Custom Rig Mapping
Let’s create a custom rig mapping, this is just telling Human Ik that we have already some custom controls for the joints. Again is super simple, just click ctrl, and click assign. This step and the previews one can be saved for later, so you can just do it once and load.
This step is the part where we need everything in FK, including the spine. There are no hands or ball controllers so they need to be animated by hand. If you are having trouble see this video multiple times and grab the correct ctrl.
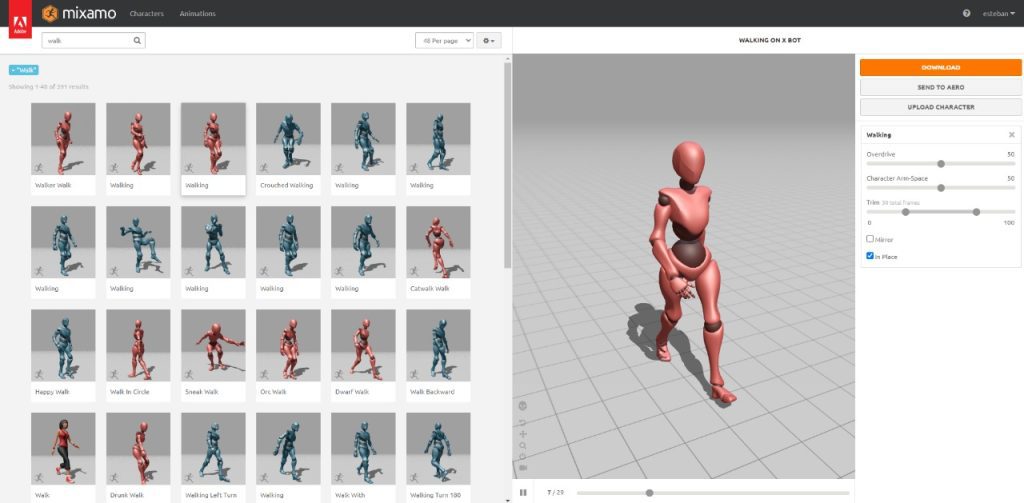
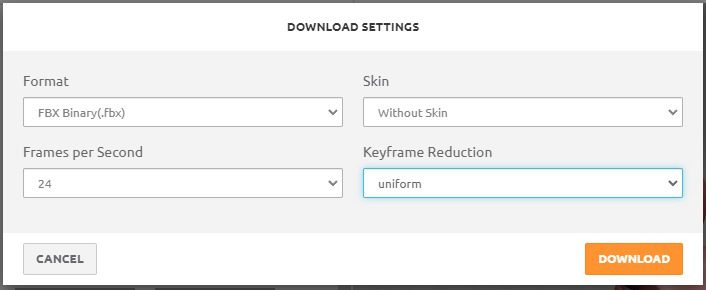
Just look at what animation you want and download it, i usually use these settings but check with your animation department first.
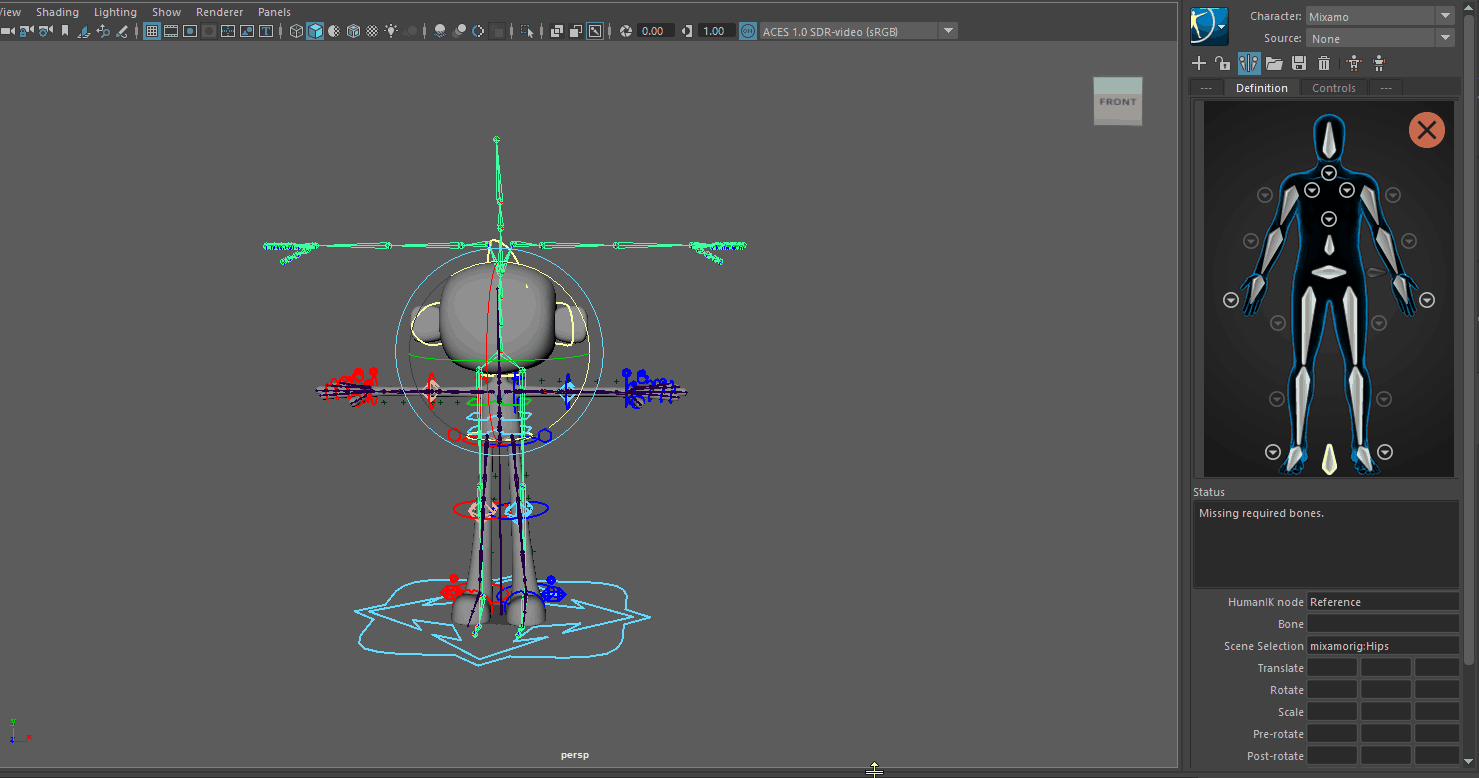
Create Mixamo HIK Definition
T Pose Mixamo Skeleton
Just import the FBX and go to frame -1, key all the skeletons to rotation to 0 and you are done!
(I just realized I recorded this gif on the wrong character, I don’t do these tutorials on one sit and I forgot this was not the one hehe, sorry but is the same thing. )
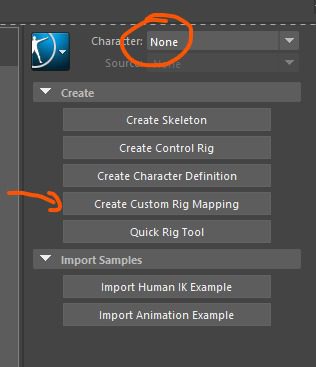
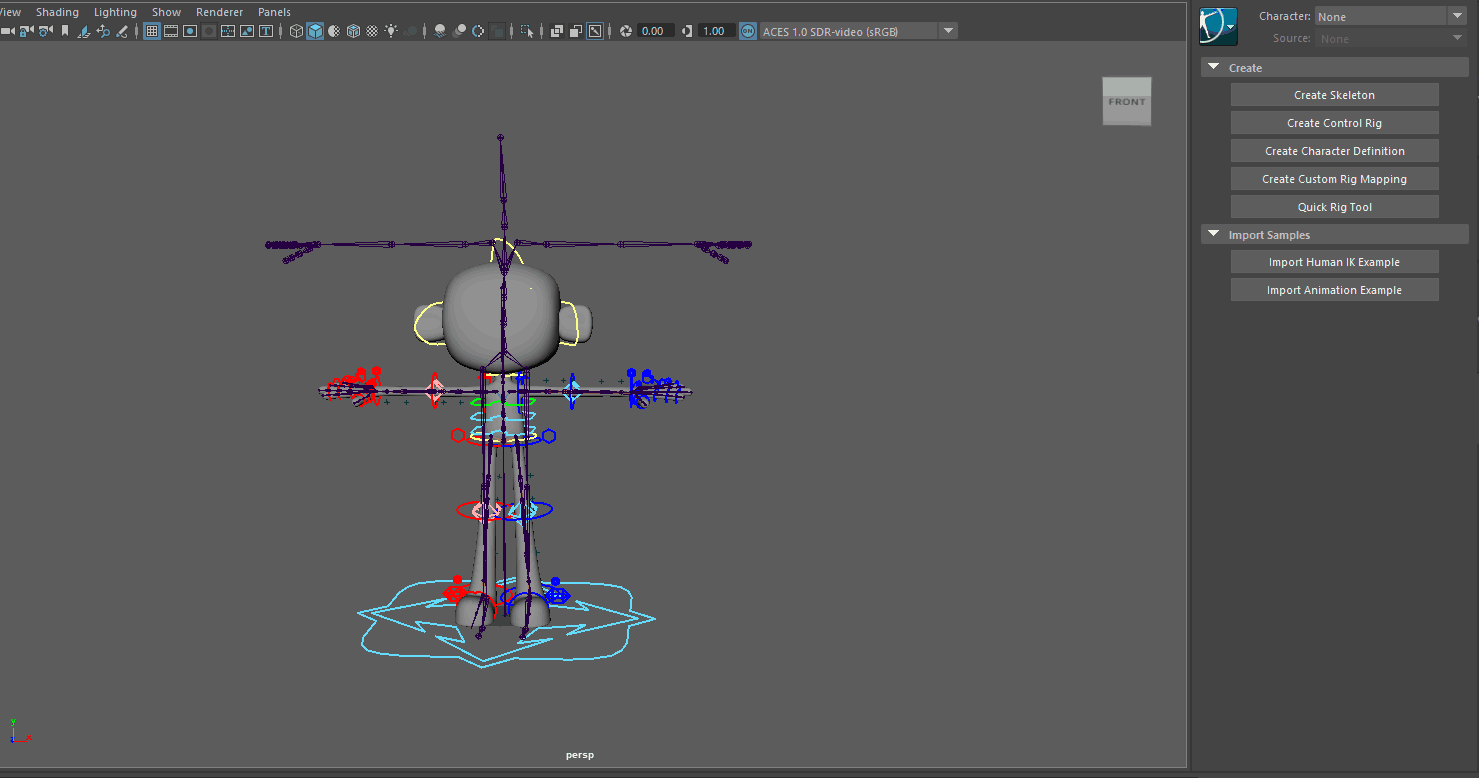
Create Mixamo HIK Character
Go to Character None, create a new Custom Rig Mapping and create a new one, rename it and we should have both on the same scene.
Create Custom Rig Definition
Mixamo is pretty simple to setup since names matches pretty cool… Just select Any joint and load the HIK Preset
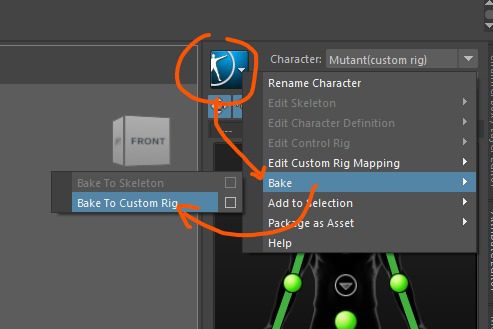
Mixamo Mocap > Custom Rig
Select the Custom Rig Character in this case called Mutant, and select the desired source, in this case, Mixamo. And Done! We still need to do a clean-up pass in the anim curves, and in case you need to debug an orientation you can adjust each ctrl rotation at the bottom of the UI.
Debug HIK
If the orient is not working or you need to only apply rotations and not translations. For Mutant Rigs this mostly works on default but I had some issues with other systems where rotations are pretty bad, and trust me is a pain to debug. Select each ctrl and tweak it, have fun!
Bake Animation
Bake the ANimation to the custom Rig, just make sure the time slider is with the correct frames.
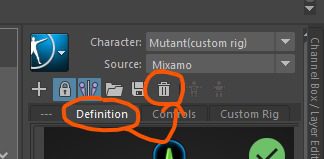
Now you should be able to delete all the definitions and the rig should be moving correctly. I recommend saving 2 versions, one with and one without the bake so you can drag a drom the .fbx and it will automatically update so it is faster to do multiples
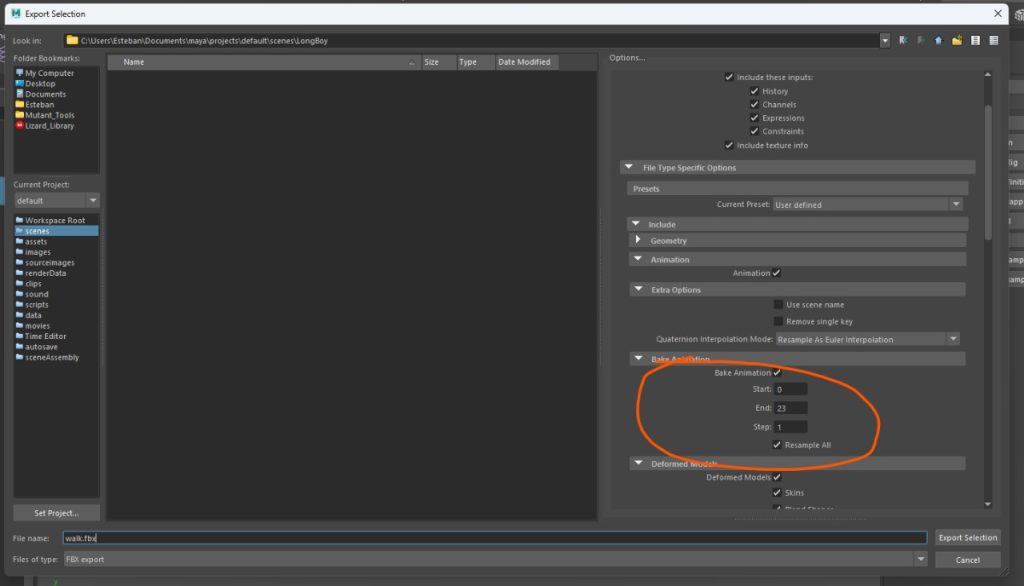
Export FBX
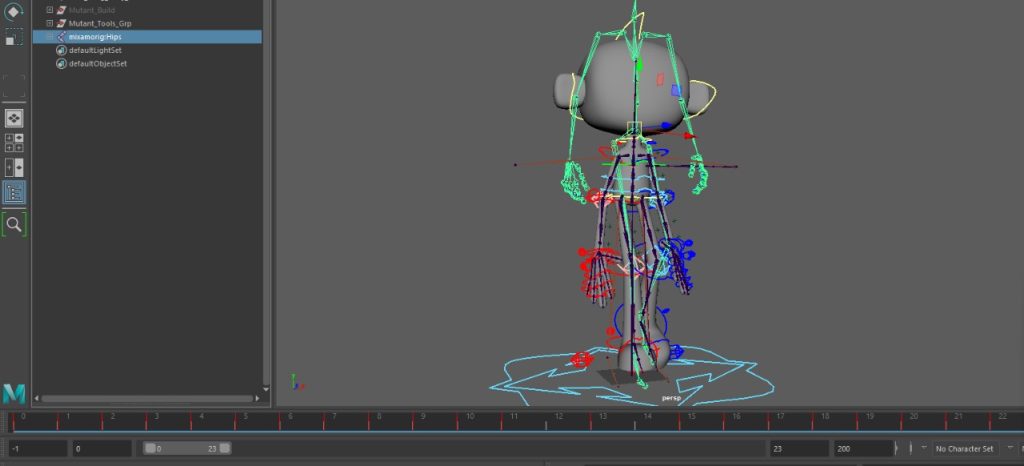
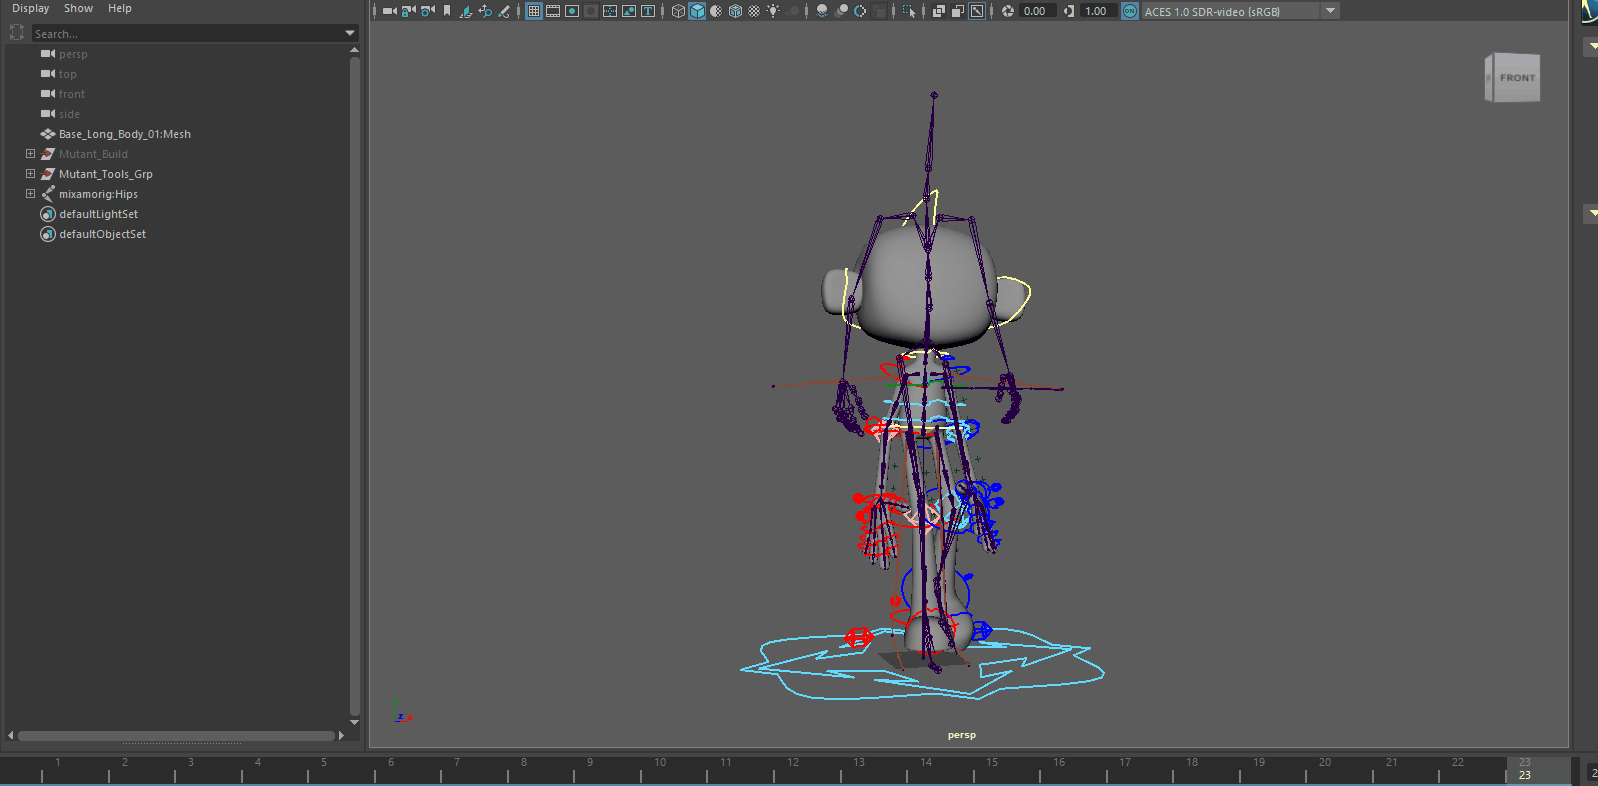
YOu can safely delete the mixamo animations, what we need to do now is to bake the skeleton joints, delete the constraints, and delete the rig, then export as fbx.
File > Export Selection and export the geo with the joints, just remember to include the animation with the correct frame numbers.
Import to Unreal
Just drag and drop to the viewport and test everything is working!
Quick Anim Fix
To be honest, I was hurrying to finish this and I didn’t check the anim and the feet are not touching the floor, this should have been fixed when the ctrls were still on but I’ll show you how to fix it pretty fast, and easy.