Creature Rigging
First, thanks to Luis Cadavid for developing the personal groom project.
We will use my main scripts: Mutant Tools. We updated some code so feel free to install the latest to follow the tutorial.
Model by: Pete Flint
Table of Contents
Guide Placement
Template
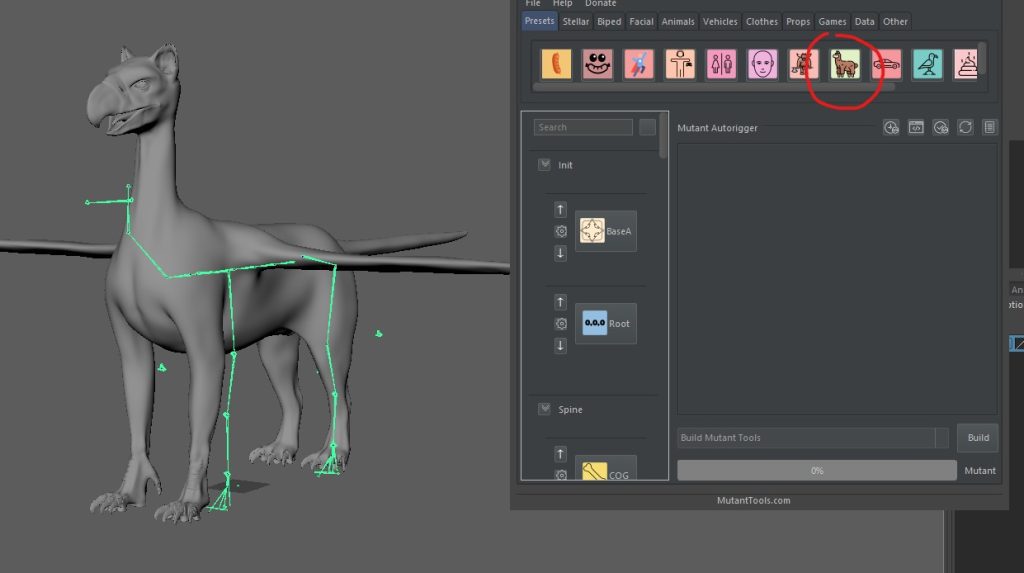
We start by selecting the quadruped template and then ill explain each block and how to place it.
BaseA_Block and Root_Block
We don’t need to do anything with them.
COG_Block and Spine_Block
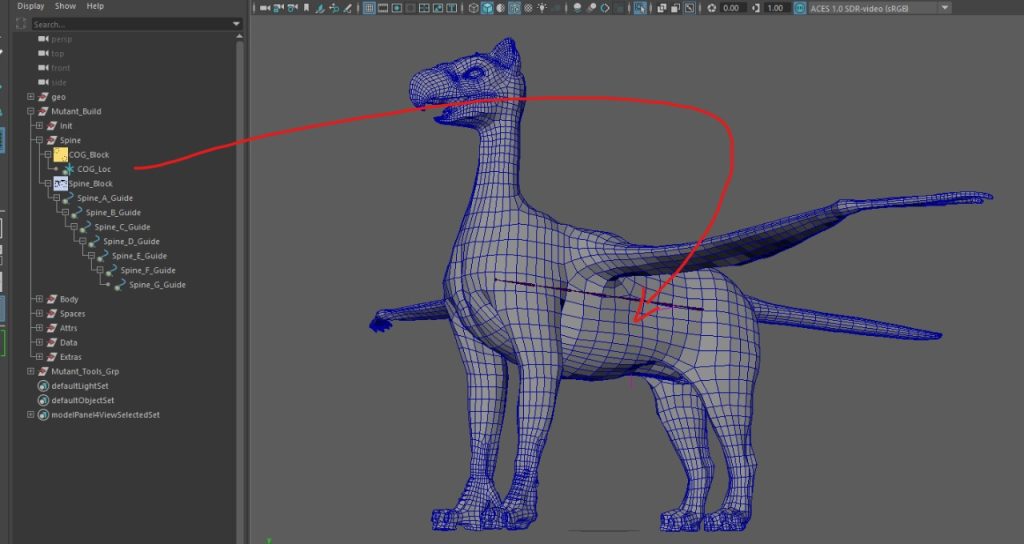
COG goes where the center of gravity is, usually in the middle of the spine or if you want like a human near the hips.
The Spine I like to have a straight line if the model allows me to do so, but feel free to give it a bit of curvature if needed.

L_Eyes_Block
Eyes: Position the first joint in the middle of the eye, you can use the cluster trick to find it and then the second where the animator may want to have the visor ctrl
Neck_Head_Block
Neck and Head are where the neck and the head start, try to remember the skull bone since placing it there will give you better skinning results.
Tail Block
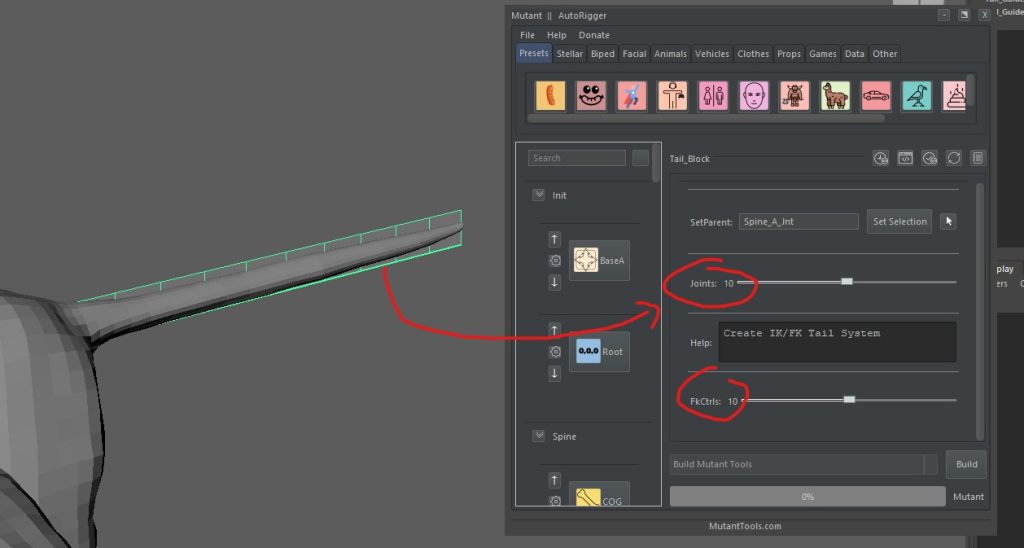
This one is a NURBS shape, feel free to delete the one in the preset, create a new one, and add the number of divisions required, you can also update the number of joints in the builder UI to have more ctrl.

L_Clavicle_Block and L_Pelvis_Block
For this one i don’t consider myself an expert placer, so if you have feedback please let me know, but I tend to place it near the center of the spine so the leg can rotate across the body like a slide effect and give that animal scapular shape when translated.
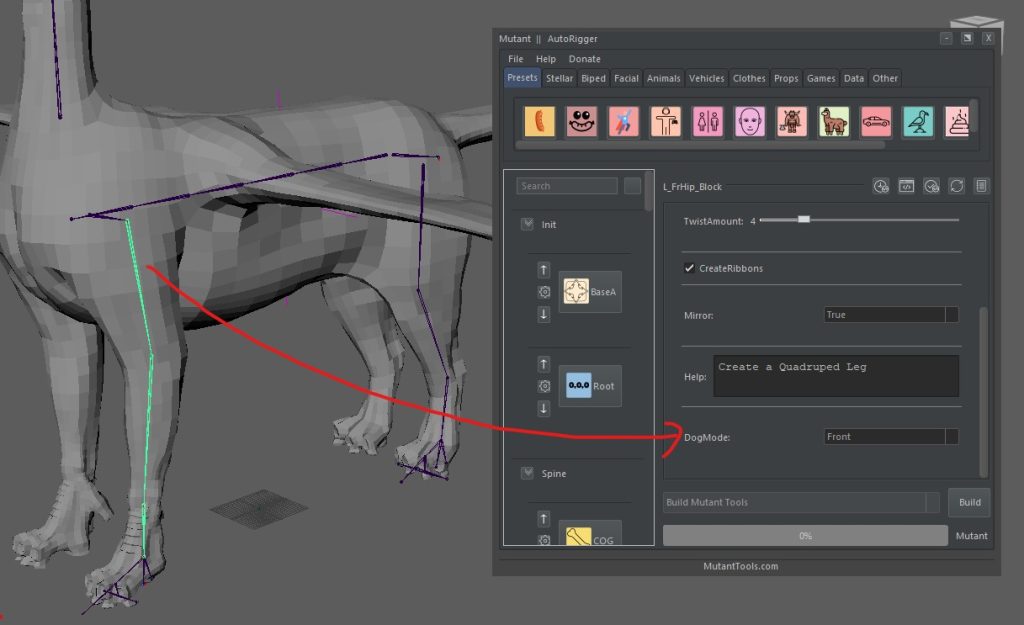
L_FrHip_Block and L_BkHip_Block
On the legs we have 2 ways, dog back and dog front. Look at your animal and see if the template matches, if not you need to switch direction and switch the mode in the UI, also the PV position is super important so play a bit with it and keep in mind to have it coplanar with the legs.

L_FrFoot_Block
This is just a foot roll, keep the ankles together, and the rolls guides on the floor and you will be fine!
FrSmart_RFL_Block
This will make a ctrl to have a fancier way to control the foot roll. No edits need to be done.
Wings

Rigging Wings is not easy. For this ill be using and old script that i implemented inside Mutant Tools. Is pretty hardcoded so ill do a explanation on whats the best way of using it.
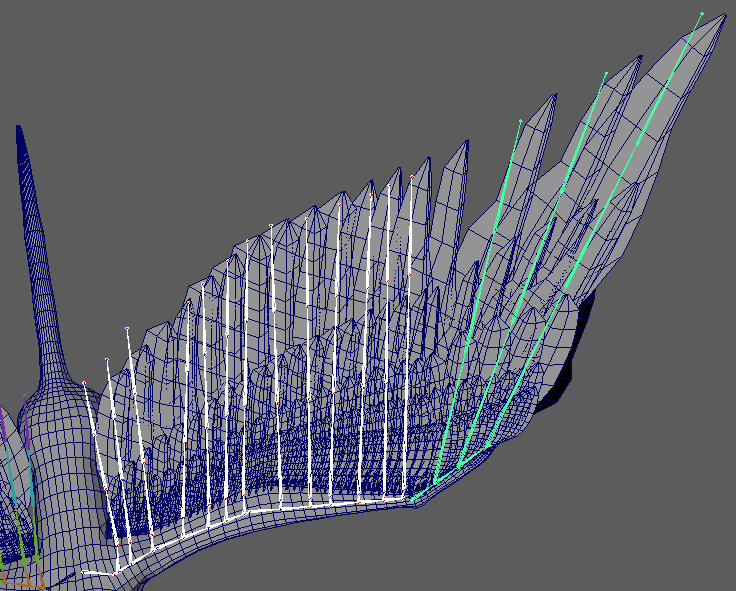
First, we need to understand wing anatomy, at least the basics of how the system works. in the main system, we have Scapulars, Secondaries, and Primaries Feathers, we don’t have anything for coverts and that kinda stuff so don’t worry about it. If you look at the model this one has another set, the Tertiaries that would be instead of the scapulars… sadly the system doesn’t support them so what I’m doing is creating a new block for the module of Feather and we will just put it at the end as Primaries Extra… Names are probably super bad Anatomy wise but Rigging wise works for me at this point.

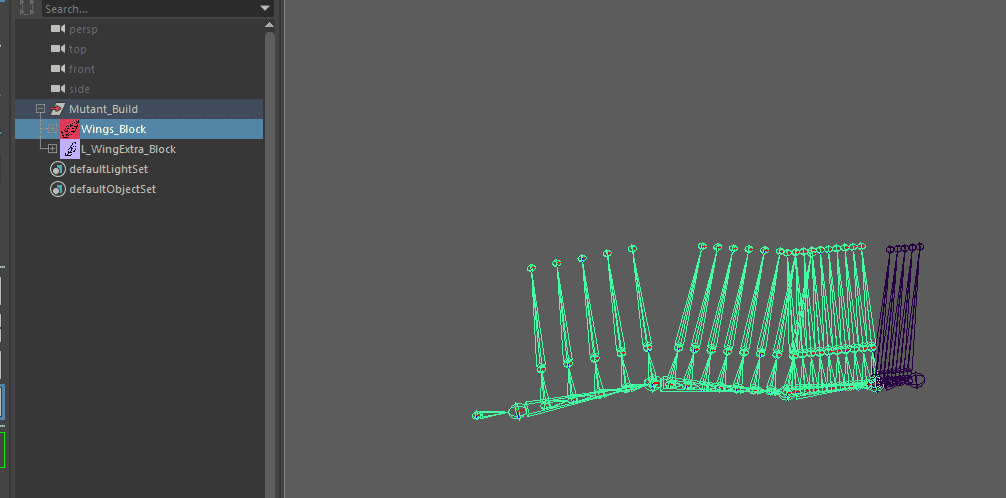
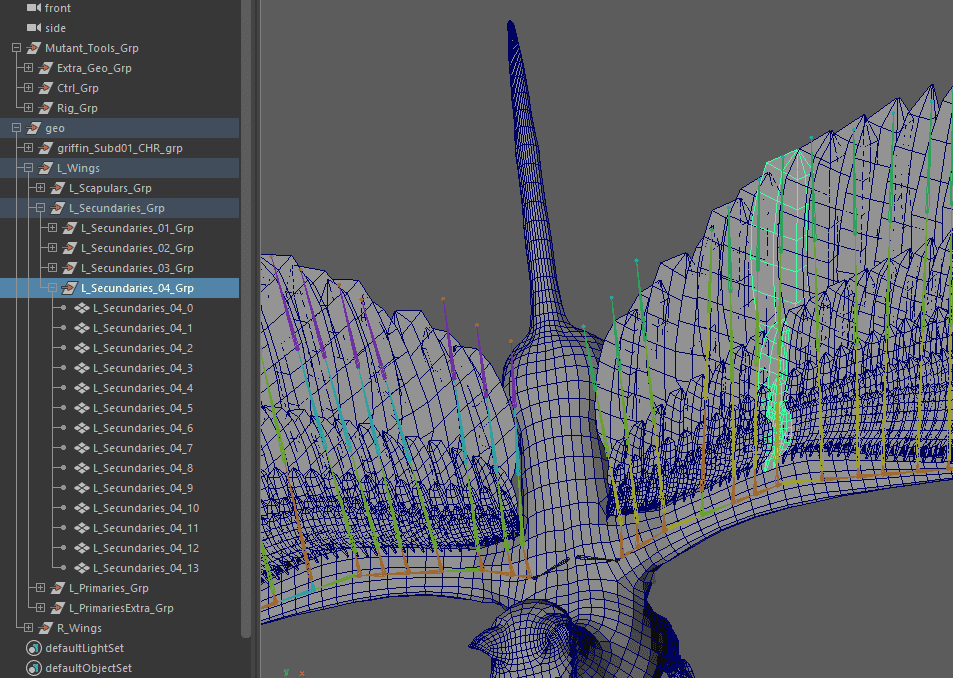
I’m sorry I didn’t have this steps on the placements but it’s just FK chains so just take care of position and good orients and done!
Spaces, Attrs, Data, Extras
Nothing to be done here, if you want to add a Spaces group open a new Maya and check the human template, build the rig, and then create the blocks… I’m not showing this so you can explore a bit but if you have questions let me know and ill be happy to help!
Building
Just hit build and remember that in case you need to update a guide just do it and the build will save the controllers and skins for you so no need to save and load them manually.

Skinning
Split Geo
Skinning Quadrupets can be challenging if is the first time. For this I’m going to be using ng skin tools and the split/merge technique for easy and mentally stable skinning.
The first step is going to be separating each part, just duplicate the geo several times and delete faces until desired part is alone.

Hard to Soft Skinning
Select desired joints, desired part and skin selected joints to it. Keep it simple, For example, the clavicle is a hard part to add so I don’t add it at this stage but at the end in another layer.
The first step is going to be separating each part, just duplicate the geo several times and delete faces until the desired part is alone.
Initialize ng skin, tools, assign from closest then smooth and you are done!
Repeat for all the rest of the parts and check joint by joint in legs to check if working before the smooth.

Feather Skinning
This will depend on how the feather geo is built, in this case, we have groups that determine what is what so I just follow it.
The bone goes to the bone and the feather only to the feather, we don’t fix them to have cleaner skin.

Combine and Transfer
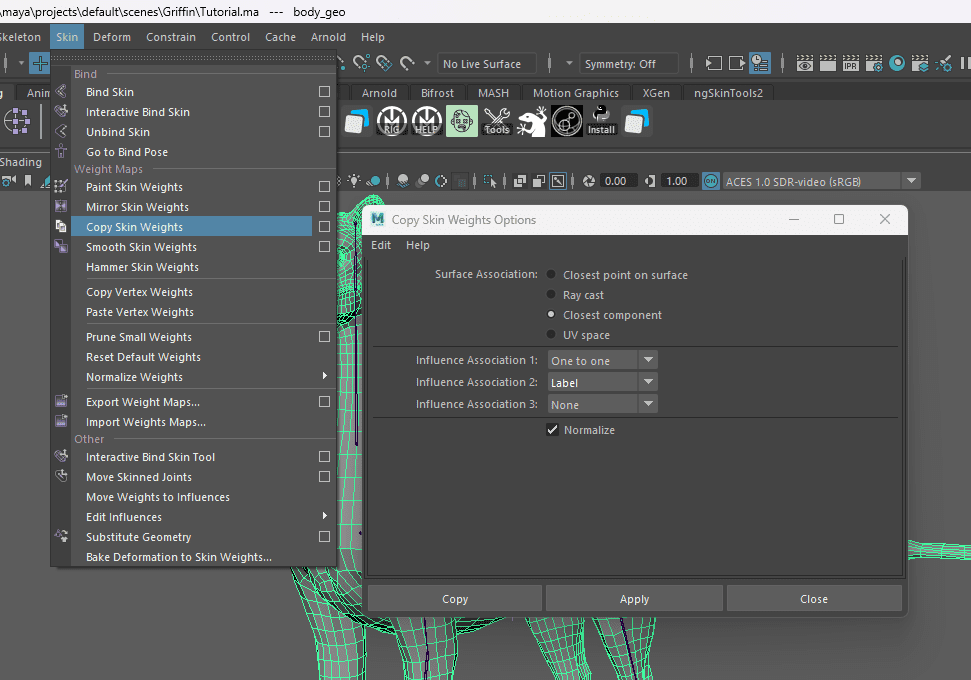
Once all parts are skinned, we just need to combine them with the skinning option set to True and transfer the skinning to the real geo.
Then just work the intersections and that is how complex skins are done simply.

